Windows System Restore feature helps to restore/recover your computer’s system files to a previous stored point. If you notice your system has become unstable after the installation of any program, device driver or critical windows update then you can restore the system files to a date when computer was working properly. Your computer creates a restore point automatically when it installs critical windows updates or device drivers. You can create a restore point manually as well. System restore point keeps information about registry settings and system information that windows uses. Windows system restore does not alter or affect user data files, it only alters system files.
Note: If you delete your files from your computer and want to recover or restore then System Restore is for sure not a suitable option for you.
In this post, we will go through how to create a System Restore point manually and restore the system from the manually created restore point.
CREATE A SYSTEM RESTORE POINT
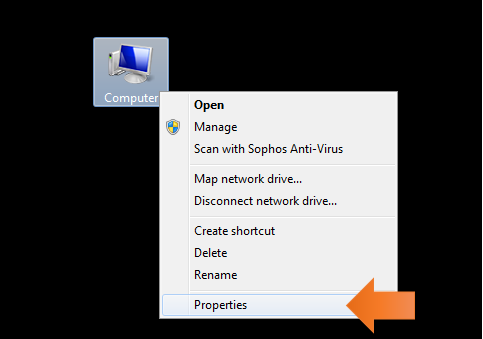
- Open System Properties. Right click on the computer and click on properties.
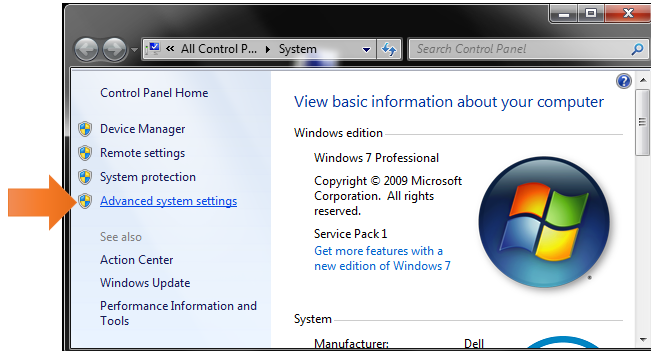
- Click on Advanced System Properties.
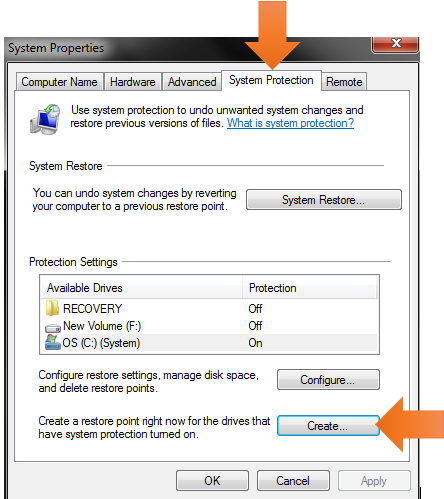
- Under System Properties window, click on System Protection tab. To create a System Restore Point, click on Create.
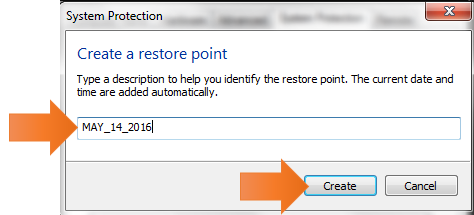
- Assign a name to your Restore Point.
- When the restore point gets created you will see below message, click on Close.

RECOVER SYSTEM FROM A RESTORE POINT
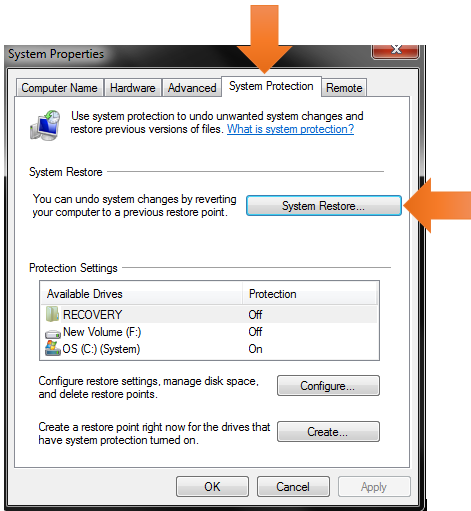
- Open System Properties once again and click on System Restore
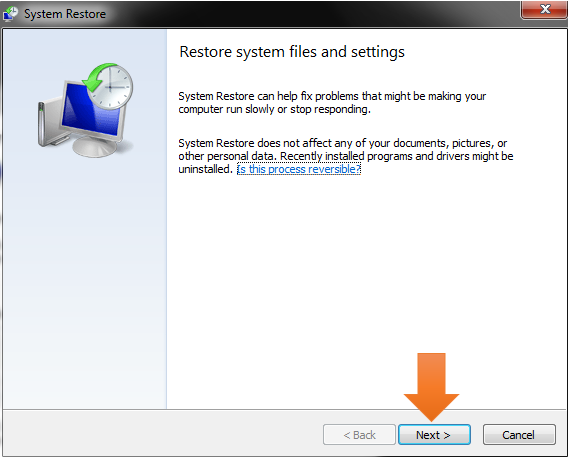
- Click on Next.
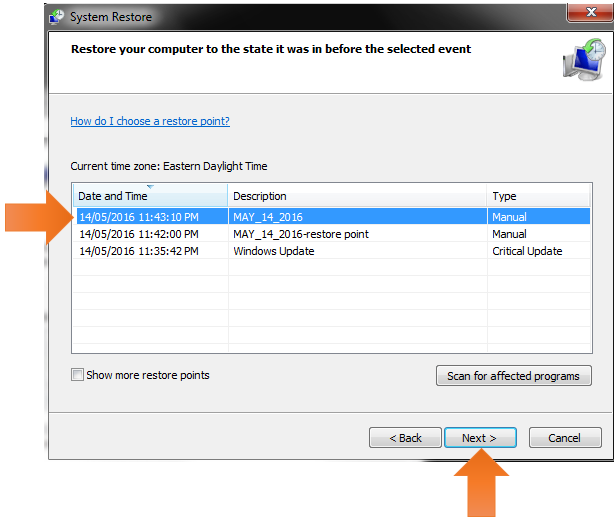
- Select the manually created Restore Point and click on Next.
- Click on Finish.

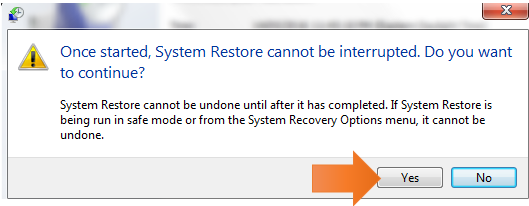
- Click on Yes.
- You will see a number of messages while the system restore process gets completed. After the reboot you will see the below message. Click on Close.
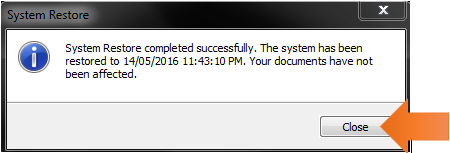 At his point, your system should be functioning to the point it was restored to. Your user data will not be changed. You can see some programs missing from your computer as it all depends on the restore point when that was taken or created.