So you’ve your blogger blog up and running and you want to redirect your blogger domain name to a custom domain to make it look more fancy and professional. You can buy a custom domain from google as well if you are living in US. If not, then you have other choices to go for in terms of providers, such as godaddy, bluehost, yahoo etc.
In this example, we are going to work with godaddy.com because this is where I bought my custom domain.
You need not purchase hosting as well when you just need to transfer the domain name.
Redirect your blogger domain to the custom domain:
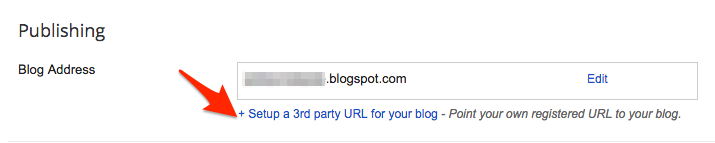
- On your blogger blog, go to Settings > Basic > Publishing and click + Setup a 3rd party URL for your blog
- Enter the custom domain name you purchased in the box, starting with www. There will be an error saying that We have not been able to verify your authority to this domain. Error 12. It is absolutely fine if you get this error message. This message contains the information for CNAME which we are going to use in godaddy.com to connect it to our blogger.
CNAME stands for Canonical Name and is a type of record in the DNS (Domain name system) which tells that a particular domain is an alias for another domain.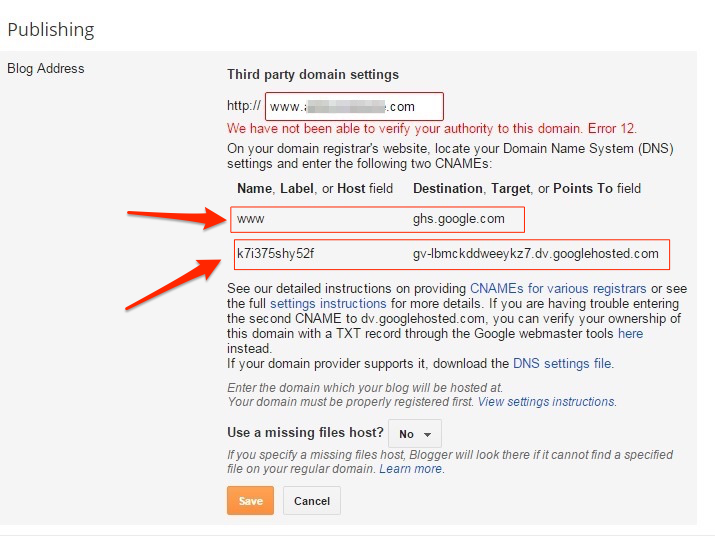
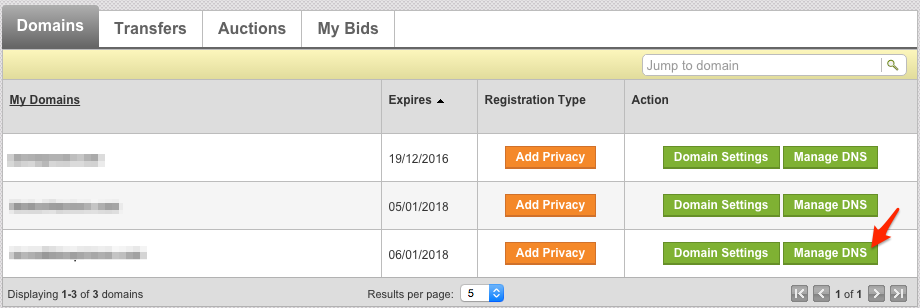
- Go to godaddy.com and in your account go to Domains and Manage DNS
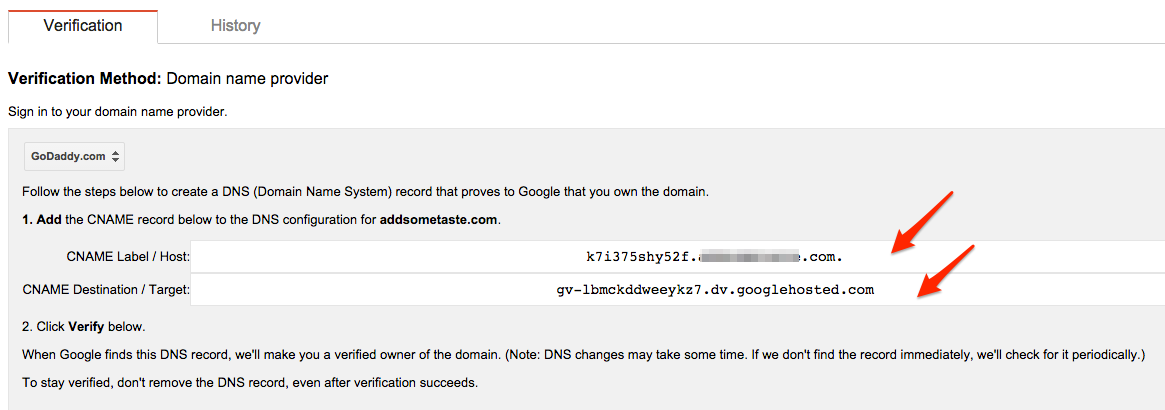
- In the DNS File Zone, Add a record in CName with the information provided by blogger in step 2.
Host :www
Points to : ghs.google.com
Add another CName record as provided to you by google which is unique.
Save the above information and you’re done with the settings.
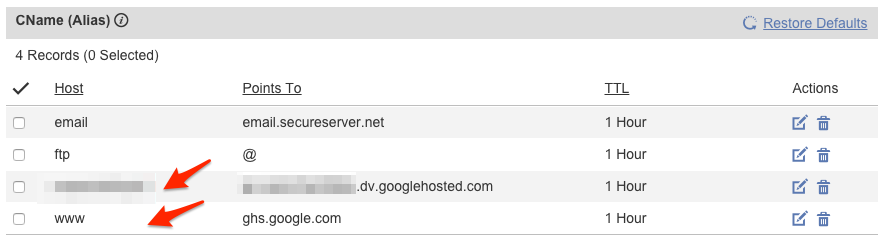
*Note: I have blurred out the above host and points to field as they are from my other domain name and not from the example mentioned here.Not to cause confusion on why the CName provided by google and on godaddy.com are not matching.
Please note that it takes 24-48 hours to reflect the redirection to the new domain name.
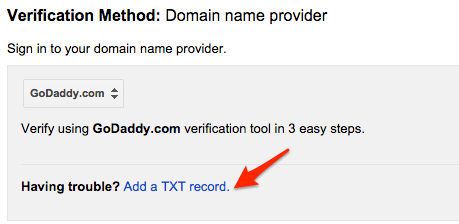
If you don’t see the second CName appearing for some reason, which is mostly due to manually cancelling the redirection after all the settings done. You can always retrieve the second CName from the webmaster tools.On the verification home page, choose the service provider as godaddy.com and click on Add a TXT record.
You’ll see steps explained to verify your domain. Scroll to the bottom and click on Add a CName record.
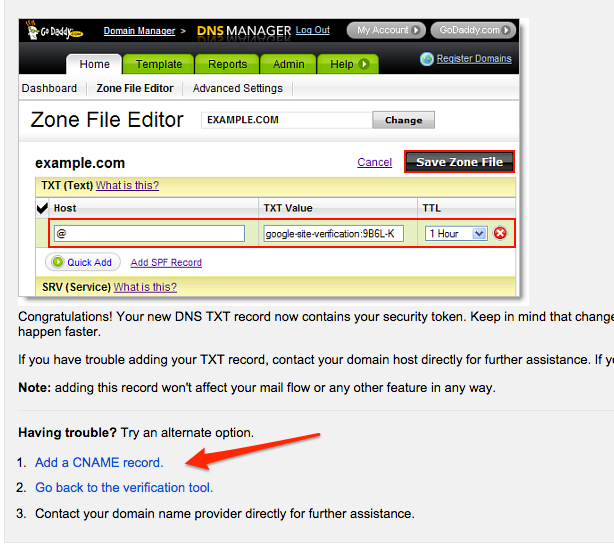
This will further display the CName you are looking for.
Please let me know if this helps you in redirecting your blog to custom domain on godaddy.com. Your suggestions and comments are always welcome.